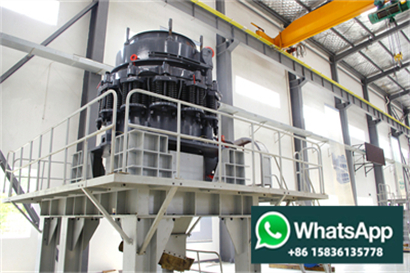
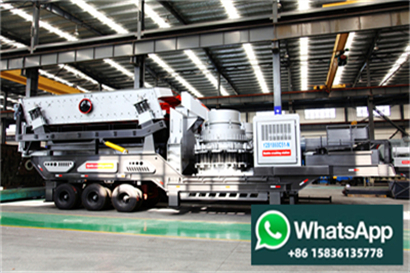
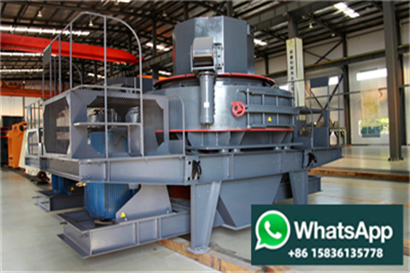
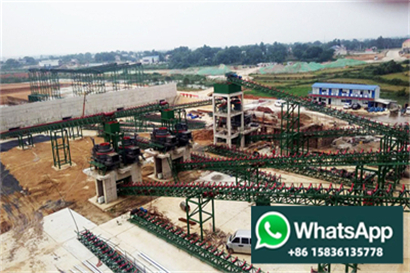
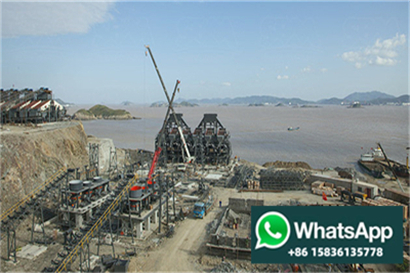
كسارة الحجر المتنقلة هي حل معياري أكثر شمولاً ومنهجية ومرونة تقدمه الشركة للعملاء. وهي مجهزة بمعدات مضيفة مخصصة عالية الأداء، مع حجم صغير وقوة معالجة قوية؛ يعتمد الإطار على تصميم شعاع مستقيم بسيط ومجهز بدعائم ثابتة قابلة للتعديل. يتمتع الإطار بثبات جيد ويمكن تركيبه ونقله بسرعة عدد كبير من السيور الناقلة المركبة لديها اتصال ونقل أكثر معقولية وموثوقية، ويمكن تركيبها واستخدامها بسرعة، ويتم اعتماد نظام التحكم الكهربائي المتكامل لضمان التشغيل الفعال والمستقر لخط الإنتاج.

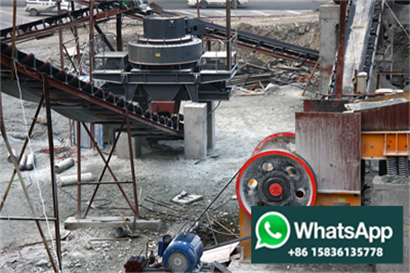
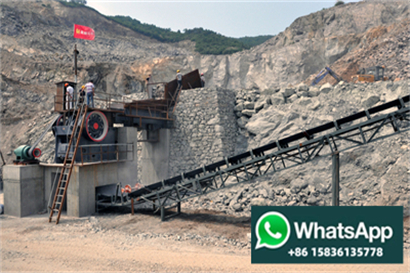
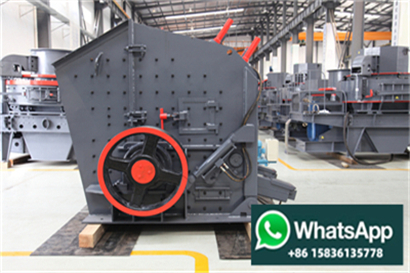
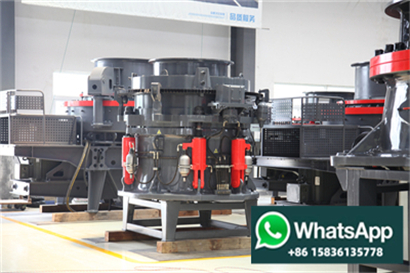
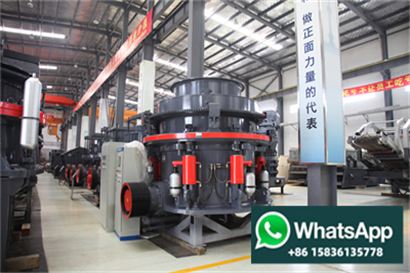
تلتزم الشركة دائمًا بمعدات سحق التعدين ومعدات صنع الرمل ومعدات الطحن الصناعية، وتوفير حلول عالية الجودة للرمل والحصى ومجموعات كاملة من المعدات للمشاريع الهندسية واسعة النطاق مثل الطرق السريعة والسكك الحديدية والمياه والكهرباء، إلخ. ، وتسعى جاهدة لممارسة التصنيع الدقيق المحلي والتخطيط العلمي العالمي، مع اعتبار آسيا المنطقة النائية والعملاء المشعين حول العالم. بعد أكثر من 30 عامًا من التطوير، نجحت العديد من منتجات الشركة في اجتياز العديد من شهادات الجودة الدولية مثل الشهادة الدولية ISO9001:2015، وشهادة الاتحاد الأوروبي CE، وشهادة GOST الروسية. بعد ذلك، في السعي لتحقيق التميز، سنستمر في استخدام منتجات عالية الجودة والتكنولوجيا الاحترافية والخدمات المخلصة لمساعدة العملاء على خلق قيمة أكبر، واستخدام الإجراءات العملية لمواصلة تعزيز البناء البيئي للحضارة الإنسانية.


Here we have given a step by step process Step 1 Getting the Right Tools Starting your coil pottery process requires preparing the necessary tools Each instrument has a distinct function helping transform clay into extraordinary art pieces Step 2 Preparing the Clay After setting up your tools the next critical step to mastering
·Introduction To Pinch Pottery A Quick And Easy Technique Pinch pottery is a popular and accessible hand building technique that allows you to create unique and functional ceramic pieces with ease This method involves manipulating a ball of clay by pinching and rotating it to create pots bowls mugs and even Two renowned brands in the ceramic
This article guides you through each step from selecting the ideal clay brand to the final touches on your baked and polished statement pieces Alongside you ll find tips on setting up your creative space a checklist of essential supplies and techniques for shaping and decorating your earrings After baking and cooling your earrings
·What is Wheel Throwing Wheel throwing is a technique used by potters to create ceramic objects on a pottery wheel It involves the use of a Pottery Wheel that spins allowing the potter to shape and mold the clay into various The process begins with the potter centering the clay on the wheel which is done by pressing the clay firmly onto the wheel head
·Wedge the moist clay on plaster to remove more water if required 4 Leather hard stage The leather hard stage of clay is ideal for trimming and turning The leather hard clay stage occurs once the clay starts to dry out The clay has stiffened up and can now be handled without leaving marks
·The process of digging up clay is done on an industrial scale too When the ground is found to be rich in clay manufacturers build clay mines and processing plants If you d like to know more about exactly how to make slip you can check out my step by step guide on making clay slip here Stage # 4 Workable/Plastic Clay
·A few simple steps to get your clay ready can save you hours of frustration going forward Preparing clay for pottery involves making sure the clay is moist but not too wet and sticky You also need to make sure the clay is free of air bubbles is free of lumps and has an even consistency Wedging your clay is an important step in clay
Forging welding soldering casting—metalworking encompasses all the ways artists work to transform and manipulate metal into functional furniture ornamental cast bronze delicate jewelry and so much more
Here are the basic steps; Form a base Roll out a coil Attach the coil using a bonding pinch Thin and raise the pot wall using a flat pinch Scrape smooth and shape using a rib or scraper Repeat steps 2 through 5 until you reach the desired size or run out of clay Trim down the rim of your pot using with a knife then smooth with wet fingers
·Introduction to Pottery Firing The pottery firing process is a critical step in the creation of ceramic items It involves heating raw clay objects in a kiln at a high temperature until they undergo a physical and chemical transformation converting them into durable ceramic goods The firing process not only hardens t
·Place hands around base of clay slowly squeeze clay to center and cone up 4 Push clay down With the heel of your left hand push the left side of clay and with side of your right hand press down on the top of it 5 Repeat steps 3 & 4 until clay is centered 6 Open up clay Slow wheel place thumbs together push down into middle of clay
·Clay Mosaic Process Art What you need air dry clay; glass or plastic gems or beads; What to do On a tray set out some clay and some gems Allow your child to create whatever they would like with the materials The gems will not stick and because the clay takes a long time to dry they can re create the process as many times as they would
·rolls which break the clay particles down to about 1 2mm Various additives can be added during the clay preparation stage usually before or at the pan to assist the manufacturing process such as giving additional dry strength or to assist firing Other materials are also added to influence aesthetic qualities of the brick or primarily
·Clay Drying Process Damp and Dry Boxes Chances are if you ve been in ceramics for a while you have seen people use a propane torch or a heat gun to speed dry their in progress pieces Using a torch or heat gun can be very tempting and each can be a great tool if used cautiously I often use a torch in the early stages of a form getting
Work Surface A smooth non porous surface such as glass ceramic or acrylic is best for working with clay to avoid sticking ; Oven Thermometer To ensure your oven is at the correct temperature for curing an oven thermometer is vital for avoiding burnt or under baked pieces ; Jewelry Findings Items like jump rings and bails are the small hardware pieces that you ll attach to
·In this form clay can be recycled If you mess up a piece don t fret You can take one of two steps Form a rainbow with your wet clay; Spread it on a piece of plaster to dry a bit Once some of the moisture is out you can re wedge and try again Shield your creations from premature cracks by ensuring a slow moisture regulated
Before you begin baking condition your polymer clay by kneading it until it s soft and pliable This process warms the clay eliminating any air bubbles that could expand and cause cracks during baking Roll the clay into your desired shape keeping the thickness consistent for even baking Use an acrylic roller or pasta machine for uniformity
·Buy a 2 oz 57 g bar for 1 car or cut a larger bar Clay bars usually come in sizes ranging from 2 8 oz 57 227 g The 2 oz 57 g size is more than enough for 1 car and is a very manageable piece of clay to work with If you buy a larger bar you can cut it into sections with a sharp knife and seal up the pieces you don t need for later use For example you can
·Turn the clay 90 degrees and repeat the process again Keep repeating this process until you have created a uniform texture and there are no more air bubbles Step 8 Forming the clay The final step in processing clay is forming it into desired shapes
·Conditioning is the process of making the polymer clay workable This isn´t as much of an issue with softer clay but firm clay often needs to be conditioned quite a bit before you can work with it Here is a detailed guide on how to paint polymer clay with step by step instructions 7 Seal the Polymer Clay Sculpture
حقوق النشر © 2024 الشركة المصنعة لكسارة الصين